Getting started with Git, VSCode and Hosting
signin github.com
download git
download VSCode
download Github Desktop
Be ready with Netlify signin
add VS code Plugins:
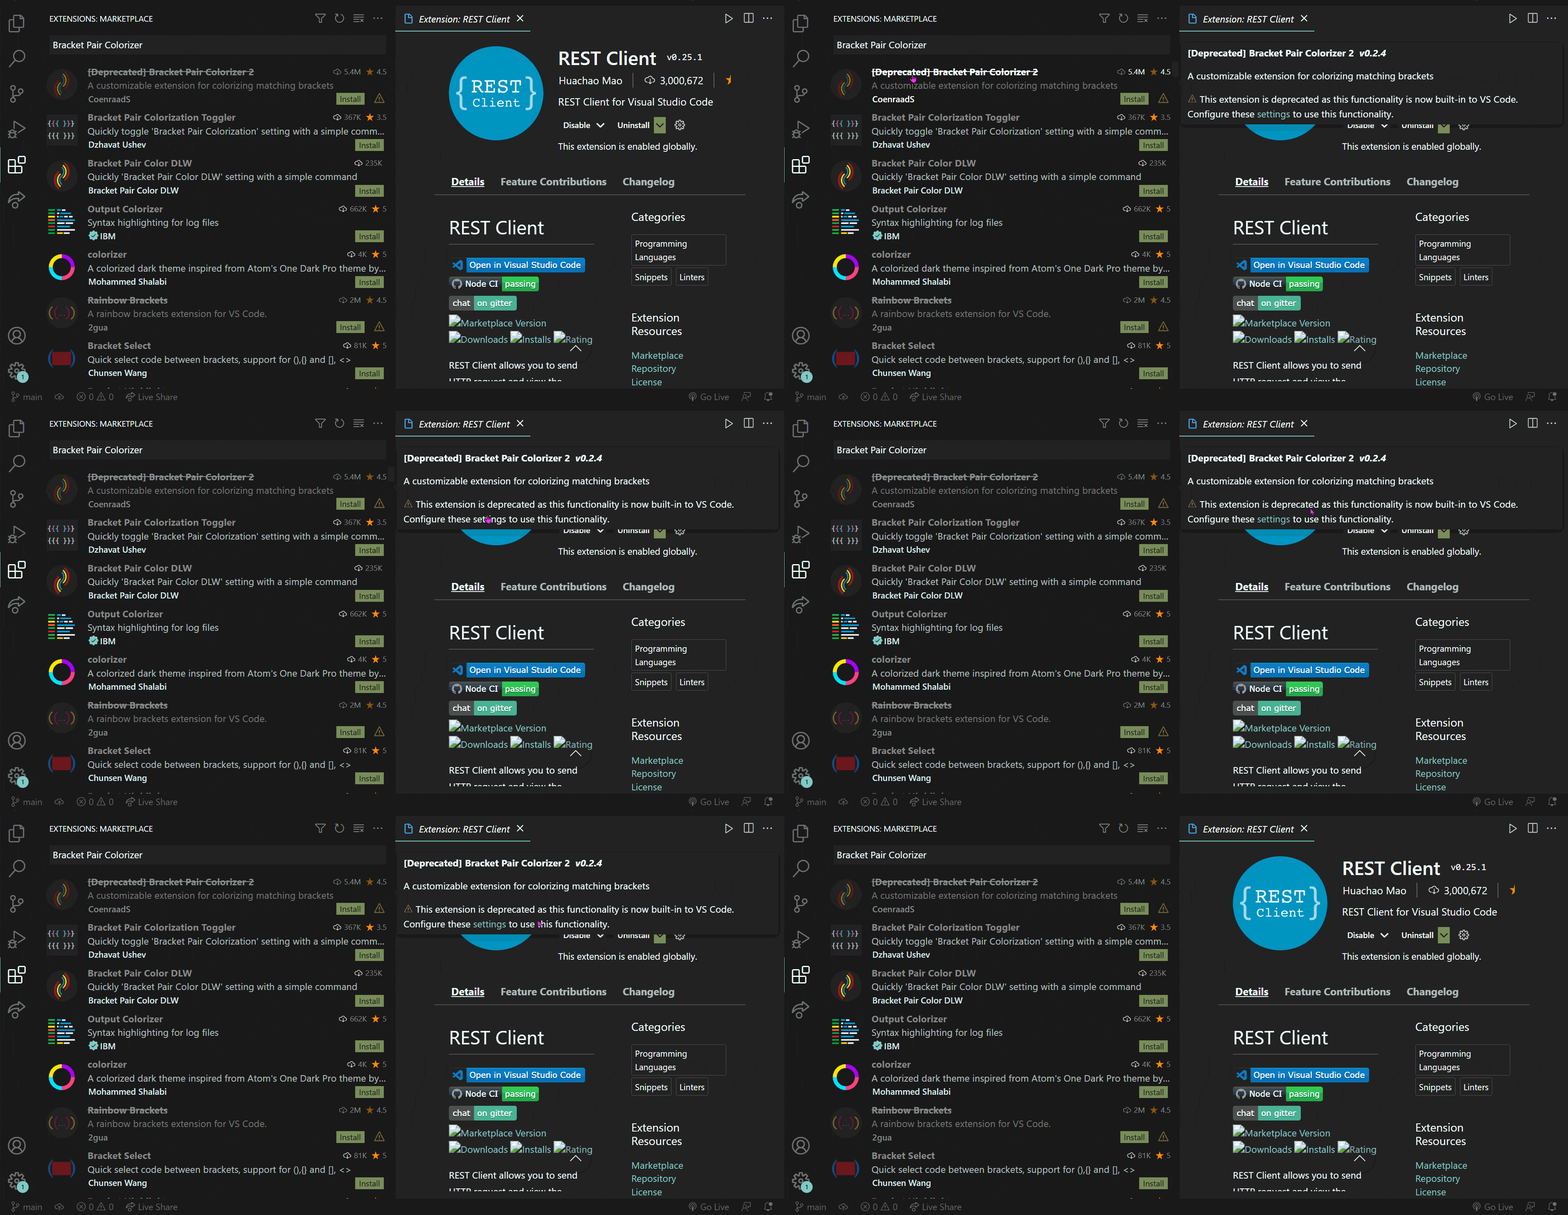
I have to add:
TODO Highlight
GitLens -Giit Supercharged
REST Client
Bracket Pair ColorizerIt will come by default with VS code 2022 . Plugin is deprecated.
I have used previously:
Code Runner by jun han
Live Serverv5.7.9 Ritwick Dey
Live Share by Micrososft
Community material Theme by Equinusocio
HTML CSS Support by CSS Intellisense for HTML
Snipped by Jefferson Licet
Prettier Code Formatter by Prettier
Material Theme Icons by Equinusocio
Material Theme by Equinusocio
Doxygen Document Generator by Christopher Schlosser.
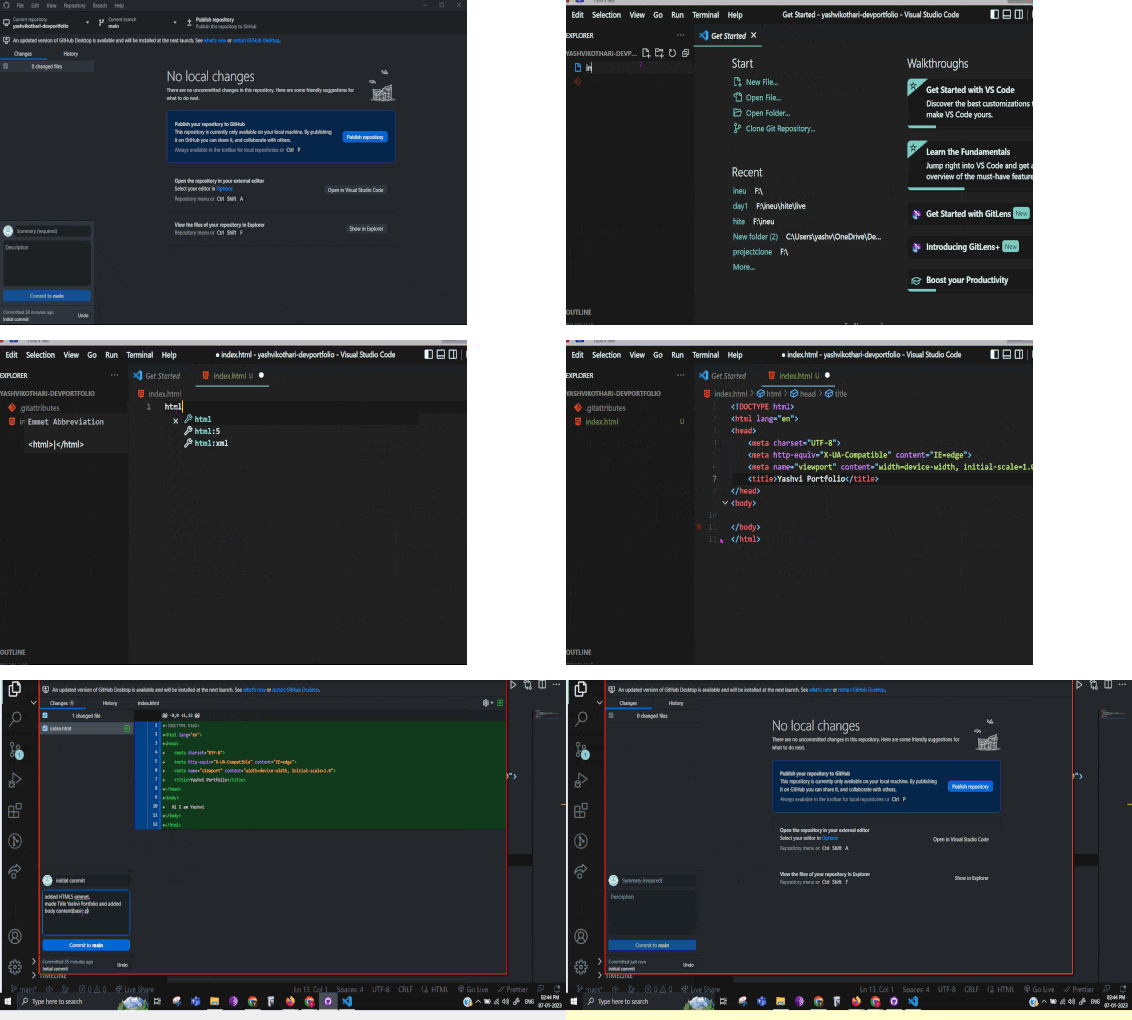
ex02: intialise a git repo
challenge
- Using github desktop initialize a git repo.
ex03: create a file in the repo
challenge
Open this repo in Visual Studio Code
Create a file
index.html.See the changes
understanding
green is added
red is removed
+is file added
ex04: commit your first changes
challenge
Add a commit message
Commit to the main branch.
understanding
commitmain
(2,3,4 ex below)
ex05 : understanding commit messages
understanding
- Writing good commit message is a skill. Let's understand this.
feat - a new feature
fix - a bug fix
docs - changes in documentation
style - everything related to styling
refactor - code changes that neither fixes a bug or adds a feature
test - everything related to testing
chore - updating build tasks, package manager configs, etc
Use this to start the message. Like if we added a test for a function that checks leap year, we start with test. Then in short describe the work we did
test: add unit test for leapYearCheck()
note
We don't do it right all the time. But it's good to put some thought into commit messages. Look into commit messages of open source work on Github to get some inspiration.
But don't get overwhelmed with this.
live exercise: write a good commit message
challenge
Q. What would you put as a commit message if:
You added some details to the
README.mdfile?Your CLI app was taking "potato" as an input for leap year test?
You started using
CHALKlibrary in your CLI app?You added level based game play in your CLI app?
You renamed your variables from
var atovar questions?
m1 docs: update README.md
m2 fix: validating an input for leap year
m3 style: started Using CHALK library
m4 feat: added level based game play
m5 refactor: changed variable name
exercise 06: publish to github
challenge
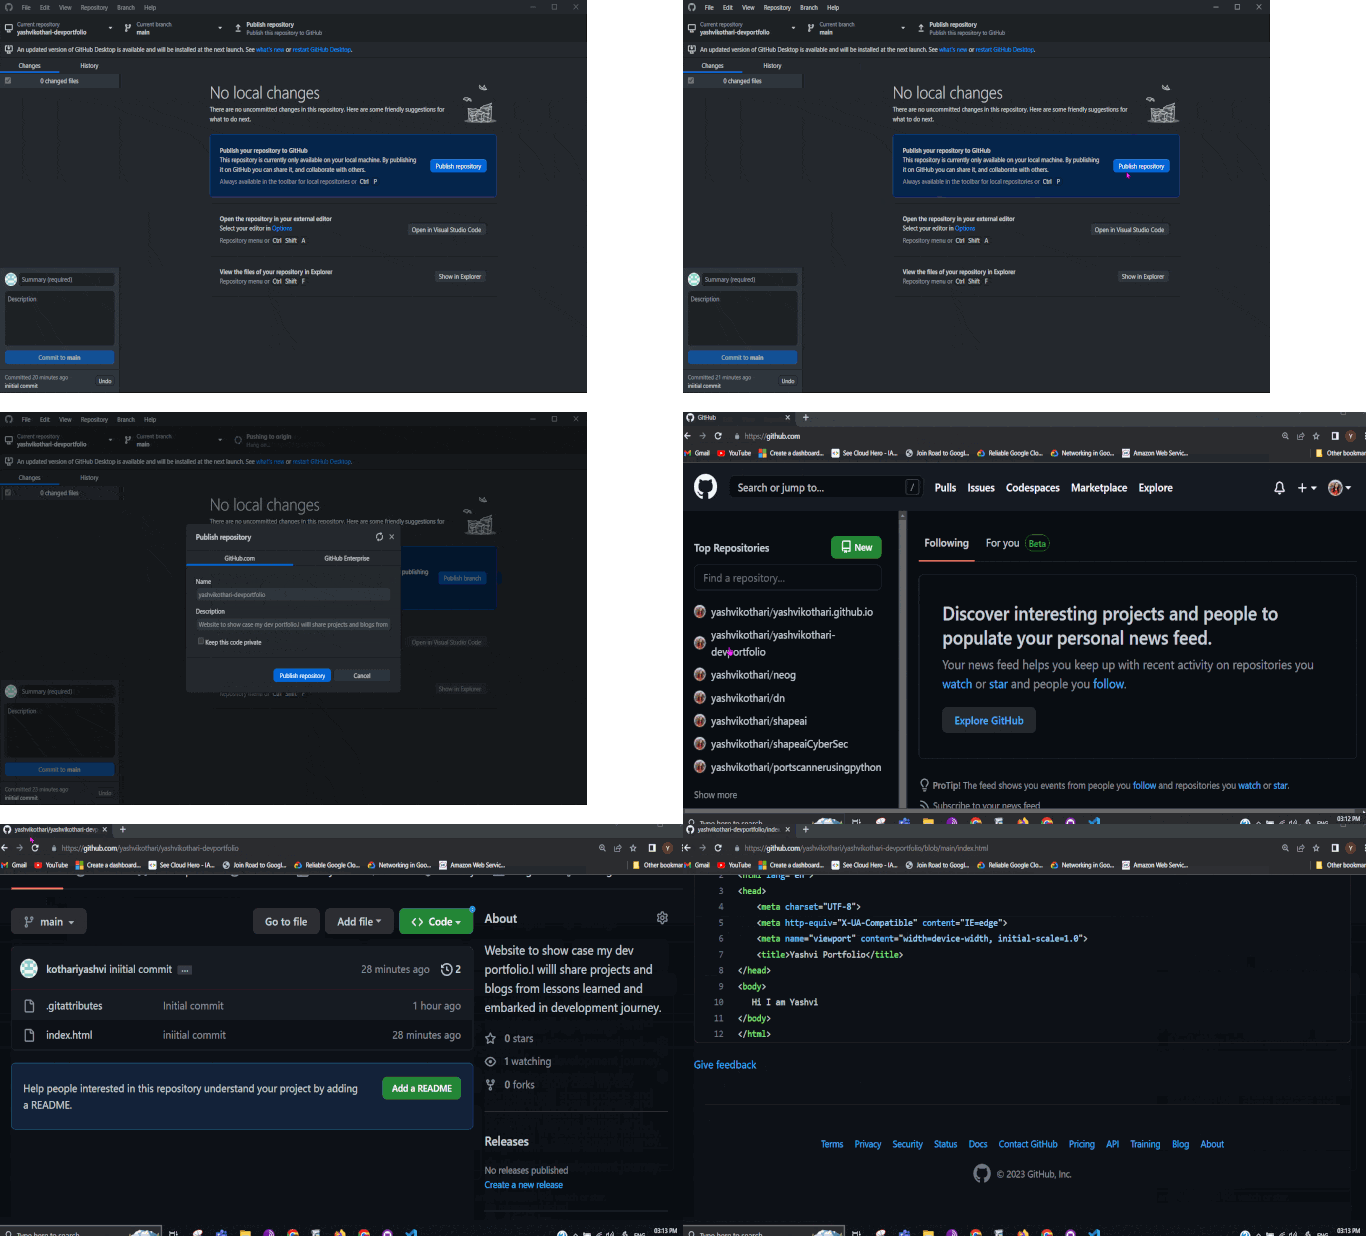
publish your repository to Github
go to github.com and see your repository
understanding
we use Github to host and save the code in a centralized location
there are other tools like Github: Azure DevOps, BitBucket, Gitlab etc.
major use is for collaboration. Apart from personal projects, people generally work in a team.
live exercise: add readme and commit
challenge
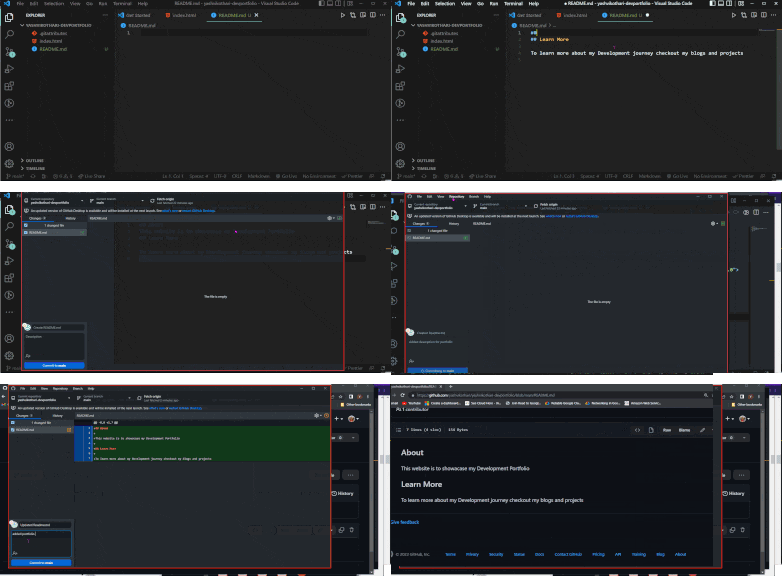
create a file
README.mdadd details of your project on the file. Say, that this is your personal portfolio in making. Some details about you.
commit the changes (let's see what commit message you're going to use)
push the changes to Github
go to Github and see your changes now
understanding
pushmarkdown
how
README.mdis special
revision
By now you know how to
why git
create a repo
publish repo
make commits
write good commit messages
push commits to server
some markdown for documentation
PART TWO: SETTING UP NETLIFY
ex01: Explain how the Internet works
challenge
Can you tell what happens when you type neog.camp in the address bar and press enter?
Record a small video for yourself explaining this.
understanding
domain name
server (files served)
hosting
client
ex02: setup netlify to show your website
challenge
Sign up to netlify using your Github login.
Select
new sitefrom the repositorySelect your Github repository
understanding
there are other providers like Netlify: Azure, AWS, Heroku etc. and you can explore them.
everytime you change something on the website it will be published automatically
ex03: check deploy
challenge
- explore the deploy section of Netlify
understanding
- this section shows all the deployments done with history
ex04: change the domain name
challenge
the domain name provided is random, change it to your name
use this to access your web app and share it with your friends
upto ex4 (check below)

live test: local to the website
challenge
do a change in your VSCode, and add some text to your
index.htmlfile. Anything which makes some sense, like, I work at Microsoft or I study at MIT, Manipal.commit
push
go to Github and check if you can see the change in
index.htmlon github.comgo to Netlify and check if your changes are deployed. Look for the timestamp.
finally, go to your website and check if new changes are there.

live test: update the URL on Github
challenge
- github has a place where you can put the URL of your website. add it there.

PART THREE: SETTING UP VSCODE
ex01: take a tour of vscode
challenge
know where file explorer is
checkout search section
extensions
source control
settings (Ctrl + ,)
shortcut
ex02: try some shortcuts
challenge
Let's see if you can do these things. Look once and then try yourself.
show/hide terminal --Ctrl + `
show/hide sidebar
open file -- Ctrl B
command pallete ---Ctrl P
jump to line number --jumping on 11 number :11
jump to symbol --@
toggle wrap --alt Z for wrappin in small screen all lines
Note: You don't need to know everything. But I suggest trying to use shortcuts as much as possible, it saves a ton of time.
I want to use shortcut on where i can select on cursor and edit word.
Please share in comment if you already know
PART FOUR: GETTING INTO THE DEV WORKFLOW WITH ALL THE SETUP
ex01: knowing how a dev in a team works?
you see what happens when you push the changes to the server when Netlify is connected: it goes live
so, how would you save your unfinished work? keep it on the laptop? no!!
a developer in any team creates her branch for new work
she does all the work in that branch and pushes that
branchwhen work is done, she raises a PR (Pull Request) which is approved by other team members, and then it goes to the master.
it's a good practice to follow even when you're working as a single person. this keeps your
mainfree forhotfixes.
challenge
Try visualizing yourself working in a team of developers. Everyone working on different features, and different branches, but all go into the same website. :)
ex02: create a branch
challenge
create a new branch
name it
yourname/project-detailsverify that you're in new branch
understanding
branch is a separate route, think of it as taking a diversion from main road, getting petrol while you're on a long road trip.
then you go back to the main road with petrol in your car
getting petrol is a feature which you implemented :)
ex03: do changes in this branch
challenge
edit the
index.htmlfile. Add details about the projects you have made.commit your changes. notice that changes are committed in new branch.
push. it will be pushed to this new branch
go to github and check if your file has changed
go to netlify and check if there's a new deploy
go to website and check if the new text is up
now explore the branch section on github and see your changes in that branch
understanding
pushing changes to a branch does not publish it to Netlify
this way, you can keep your work in progress safe on github
uptoex3 below:
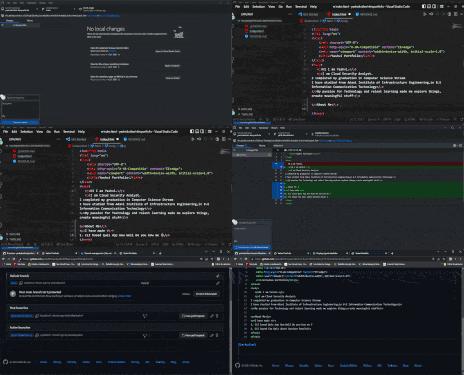
ex04: open a PR
challenge
create a pull request for your new branch
fill in description and headline
check out the file changes
get the PR link. you can send this for review to your friend to make sure that you're doing the right changes. That would essentially be
PR reviewPR Review Link:

understanding
- PR review, important when you're working in a team
ex05: merge PR
challenge
merge the PR which you just made

now, check your changes on
mainbranchdeploy in Netlify
update on website

ex06: going back to main
challenge
now your changes are part of
maingo back to
mainand pull the changes
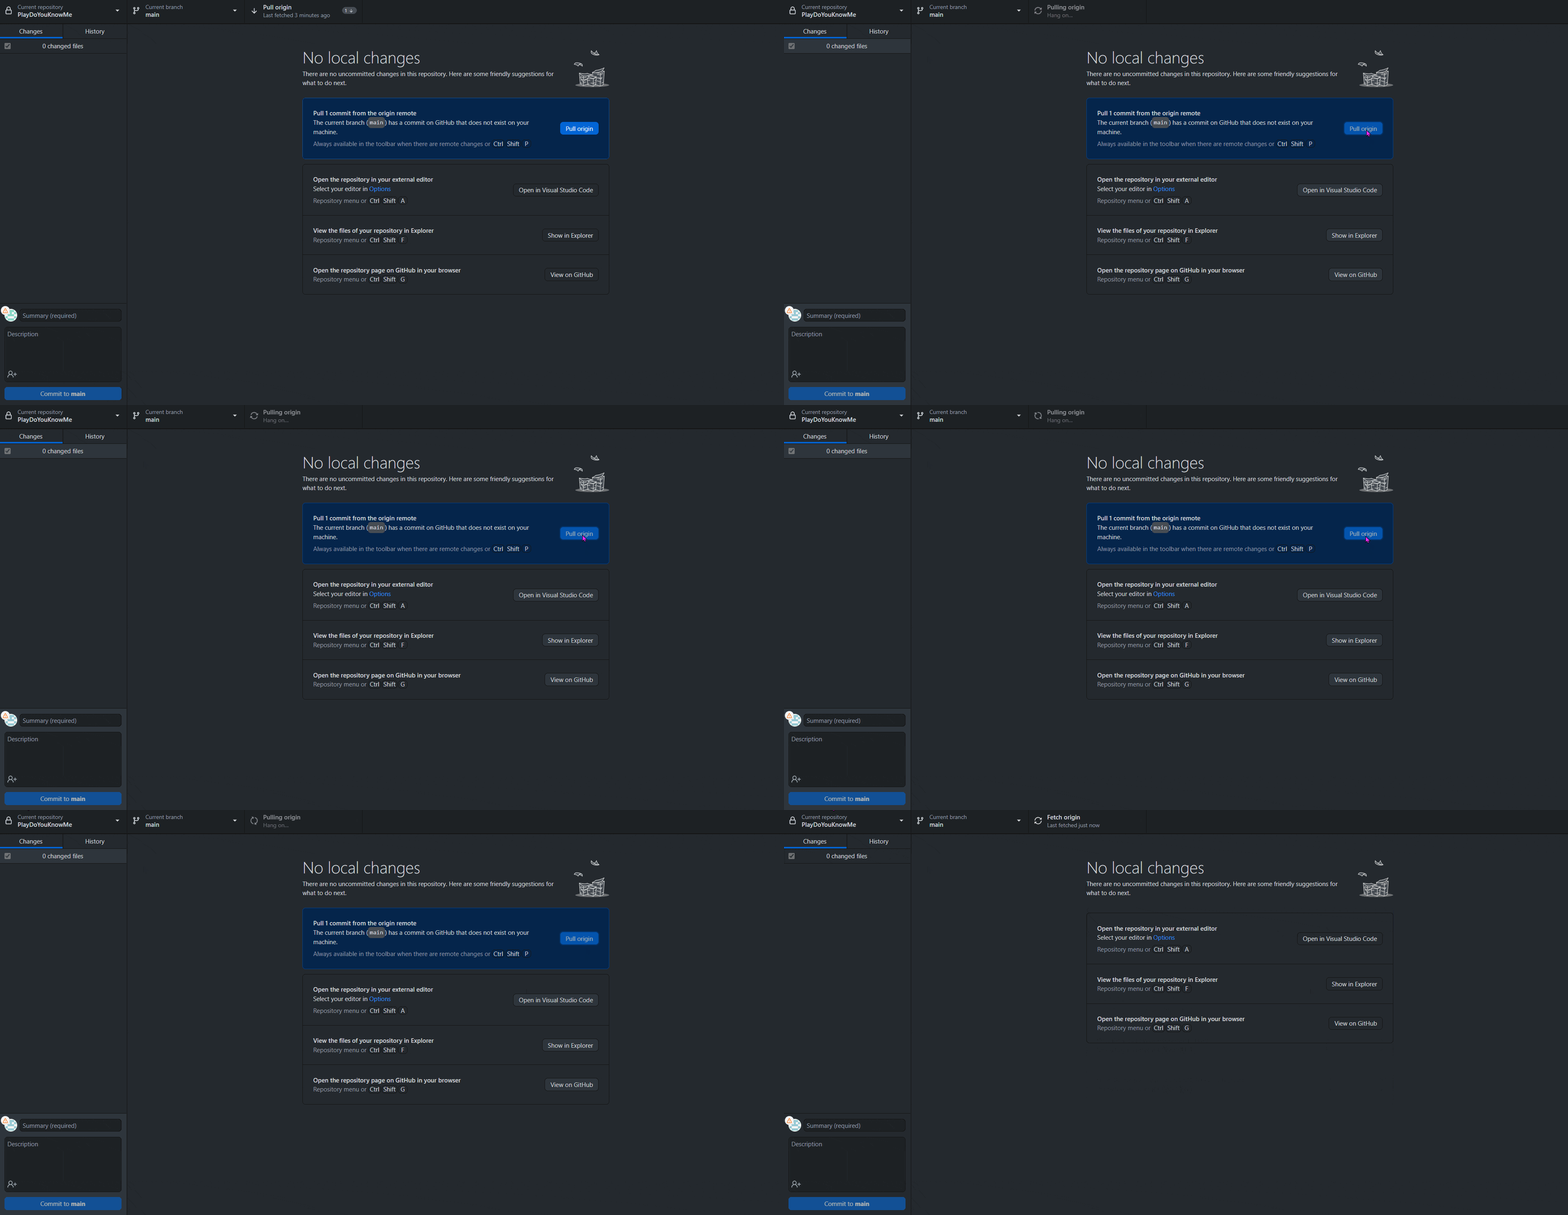
understanding
this might look weird when doing alone
think you're working in five member team, to make sure that TeamMate03 receives changes of TeamMate02 and TeamMate01, she should pull master often.
an important practice when you're working in industry
Note about jobChallenge: Feedback I got from hiring partners was that students didn't know how things work in indsutry wrt git. Trying to cover some parts of it in this video.
live exercise: do the entire thing
challenge
make sure you're in
maincreate a branch, make changes to
index.htmlfile. Add details of your favorite book/movie etc.push the new branch to Github.
create a PR, fill details.
merge PR and see your changes reflect.
COMPLETED markThree
We have made two projects in lecture One.
How well do your friends know you? Quiz which we made live.
Fandom Quiz. The assignment is to create a quiz about any topic you're interested in.
Assignment for today is that you create two repos for both the projects and push the changes. Make sure you use
good commit messages
update README with details of the project
update URL of the REPL in Github

